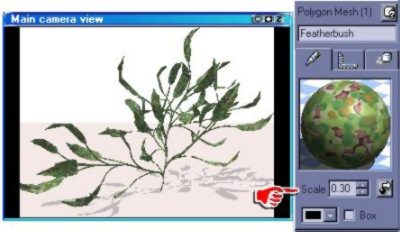
I've just built this nice
Featherbush plant in PlantStudio and exported it on a single layer; i.e.
as one complete 3D object, since it is basically just stems and leaves.
After bringing it into Vue, I applied
a simple material to give it some color. Okay, now it's green, but it doesn't
look very realistic.
 It's time
to create a material that will make this plant look like a plant. It's time
to create a material that will make this plant look like a plant.
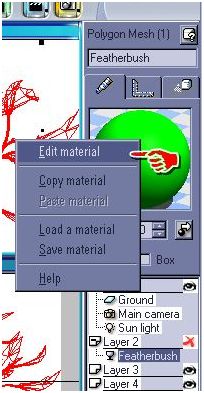
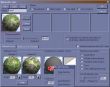
1 - With the plant object selected, right-click the object's Material display
(directly above the world browser). Select Edit Material.
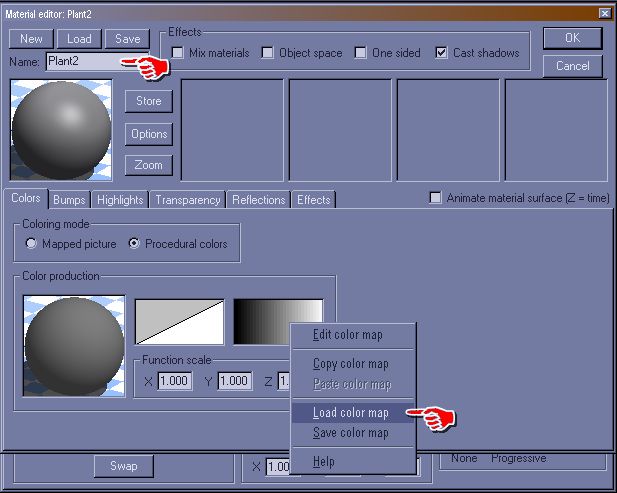
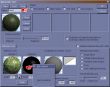
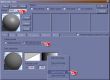 2 - In the Material
Editor, select New. Give your new material a name. On the Color tab, click
to mark Procedural Colors. Then right-click the black-to-white color map
and select Load Color Map. 2 - In the Material
Editor, select New. Give your new material a name. On the Color tab, click
to mark Procedural Colors. Then right-click the black-to-white color map
and select Load Color Map.
(Follow the thumbnail links to view full-size
images with indicators.)
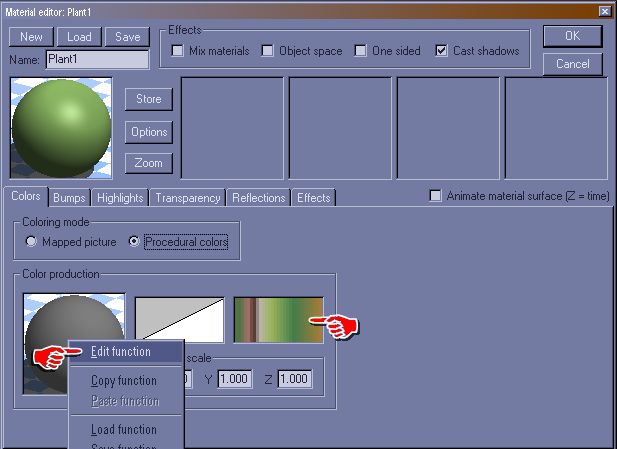
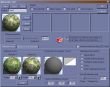
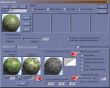
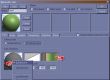 3 - Pick any color map
that seems appropriate. Edit it if you like. When you are satisfied with
the colors, you'll notice the material is still showing a solid tone. We
need to add a function to be able to use our colors. So right-click the Color
Production display and select Edit Function. This will open the Material
Color Editor screen. 3 - Pick any color map
that seems appropriate. Edit it if you like. When you are satisfied with
the colors, you'll notice the material is still showing a solid tone. We
need to add a function to be able to use our colors. So right-click the Color
Production display and select Edit Function. This will open the Material
Color Editor screen.
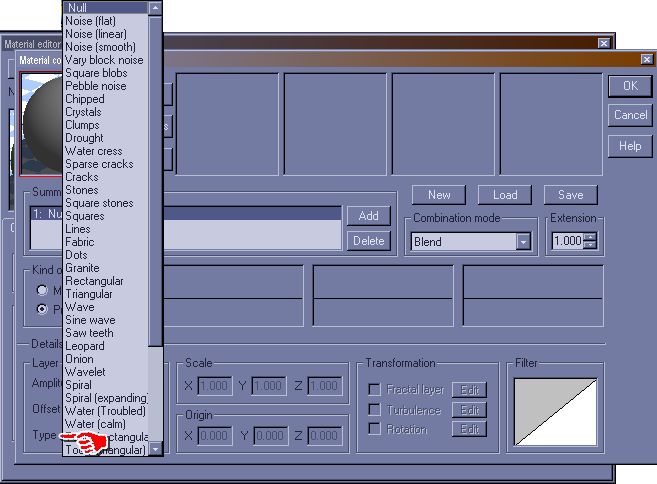
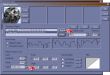
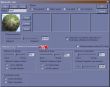
 4 - Towards the bottom
of the screen, select Type. This opens a menu of many types of functions.
Pick one, and it will replace the current "Null." On your main Vue screen
to the right (not shown), you will be able to watch the material change in
full color in the material display above the world browser, so you don't
need to reposition this function screen. 4 - Towards the bottom
of the screen, select Type. This opens a menu of many types of functions.
Pick one, and it will replace the current "Null." On your main Vue screen
to the right (not shown), you will be able to watch the material change in
full color in the material display above the world browser, so you don't
need to reposition this function screen.
 5 - Now click the Add
button to prepare a place for a second function. Again select Type and pick
another function from the long menu. You can accept these functions as they
are, or you can modify them for scale, amplitude, combination mode, etc.
For this plant, we're going to take them as they come. 5 - Now click the Add
button to prepare a place for a second function. Again select Type and pick
another function from the long menu. You can accept these functions as they
are, or you can modify them for scale, amplitude, combination mode, etc.
For this plant, we're going to take them as they come.
6 - Click OK on the Material Color
Editor screen to close it. Then click OK on the Material Editor screen to
close it.
7 - On the Material display, set your material scale to whatever suits the
object. Do some preview renders to test the scale and overall appearance.
Now, if this plant is destined for
the mid-ground or will be distant from the camera, you can stop here and
call it ready. But if you want to view the plant closer in your scene, you
will probably want it to have more natural variation in its tones. This is
a simple element to add at this point, so let's continue.
 8 - Again right-click
the material display to open the Material Editor. Mark the box for Mix Materials,
and the screen will change. Now right-click Material 2 and select Edit
Material. 8 - Again right-click
the material display to open the Material Editor. Mark the box for Mix Materials,
and the screen will change. Now right-click Material 2 and select Edit
Material.
 9 - In the Material
Editor for Material 2, give the new material a name. Mark Procedural Colors,
then right-click the color map and select Load Color Map. This is just like
step 2 above. 9 - In the Material
Editor for Material 2, give the new material a name. Mark Procedural Colors,
then right-click the color map and select Load Color Map. This is just like
step 2 above.
10 - Repeat steps
3, 4, and
5 for this new Material 2 to add a couple Color
Production functions. Click OK to close the Material Color Editor, then click
OK to close Material 2's editor screen.
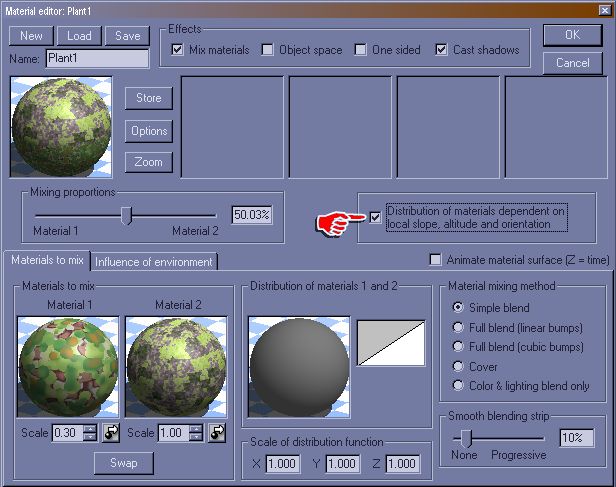
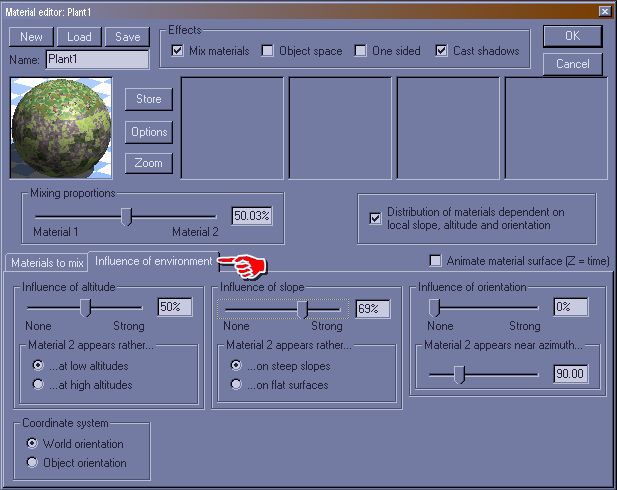
 11 - Now mark the box
for distribution of materials being dependent on orientation. Doing this
will add a new tab to the editor screen. 11 - Now mark the box
for distribution of materials being dependent on orientation. Doing this
will add a new tab to the editor screen.
 12 - Move to the new
tab and set your choices for Influence of Altitude and Influence of Slope.
You can ignore the other options for this plant. 12 - Move to the new
tab and set your choices for Influence of Altitude and Influence of Slope.
You can ignore the other options for this plant.
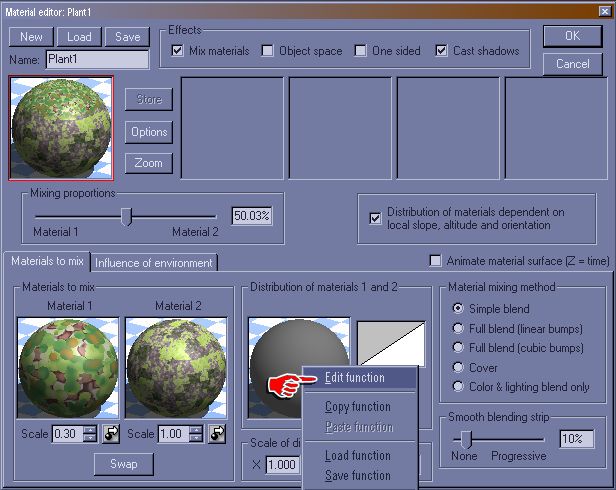
 13 - Now move back to
the first tab. Right-click the Distribution function display and select Load
Function. You're familiar with the Function Editor, so go ahead and choose
a function. (Noise or Fractal are good ones for Distribution of organic
materials.) Just one function is sufficient here. 13 - Now move back to
the first tab. Right-click the Distribution function display and select Load
Function. You're familiar with the Function Editor, so go ahead and choose
a function. (Noise or Fractal are good ones for Distribution of organic
materials.) Just one function is sufficient here.
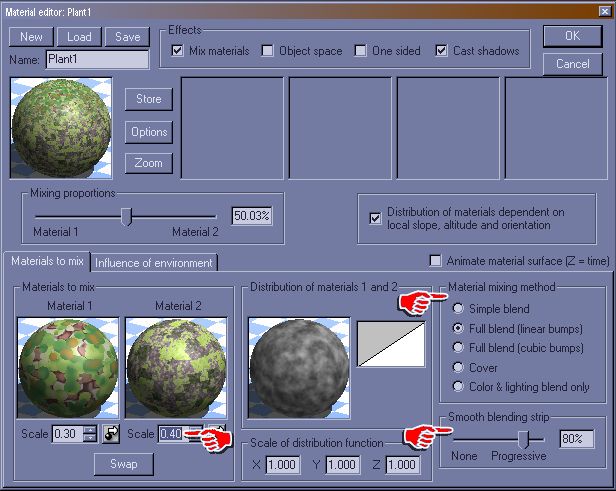
 14 - When you have a
Distribution function set, click OK to close the Function Editor. This is
a good time to set the scale for Material 2, before we forget! Use a setting
that seems to coordinate with Material 1. Now take some time to play with
the Material Mixing Method and Smooth Blending Strip. When you have a combination
you like, click OK to close the Material Editor screen. 14 - When you have a
Distribution function set, click OK to close the Function Editor. This is
a good time to set the scale for Material 2, before we forget! Use a setting
that seems to coordinate with Material 1. Now take some time to play with
the Material Mixing Method and Smooth Blending Strip. When you have a combination
you like, click OK to close the Material Editor screen.
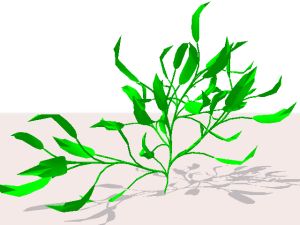
The PlantStudio model now looks
like a genuine plant! :)
Final rendering:

Plant model with a single
material:
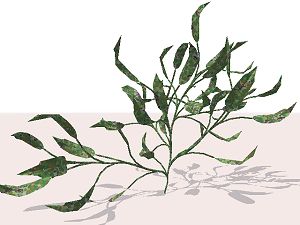
Plant model with mixed
materials:

NOTE: We didn't add any Bump to
these materials, but of course it can be done, and the method is very similar
to setting the Color, so give that a try, too!
|